
10 Tips for Choosing a Recessed Electric Fireplace?
Choosing a Recessed Electric Fireplace can transform a plain wall into a warm, focused feature. Yet appearance should not guide the decision alone. A slim black frame may look impressive in a showroom, but it can feel oversized in a compact living room. Wall depth, viewing distance, socket location, and furniture placement deserve equal attention.
This guide introduces ten practical tips based on installation details, manufacturer specifications, and common homeowner concerns. It considers heating performance, flame realism, energy use, controls, noise, maintenance, and long-term reliability. Measurements matter. A fireplace that extends only a few inches may still require careful framing and safe clearance around surrounding materials. Electrical work should follow local regulations and, where necessary, involve a qualified professional.
Small details matter.
Reliable choices begin with evidence, not attractive photographs. Check the listed wattage, voltage, thermostat range, warranty terms, and replacement-part support. Independent customer feedback can reveal fan noise, remote-control problems, or uneven heating that product descriptions omit. However, reviews can be inconsistent and should not replace technical documentation. A perfect choice does not exist. Even a highly rated model may disappoint if its heat output suits a bedroom but not a large open-plan room. These ten tips aim to make the selection process clearer, more realistic, and safer, while leaving room for personal taste and honest reconsideration.
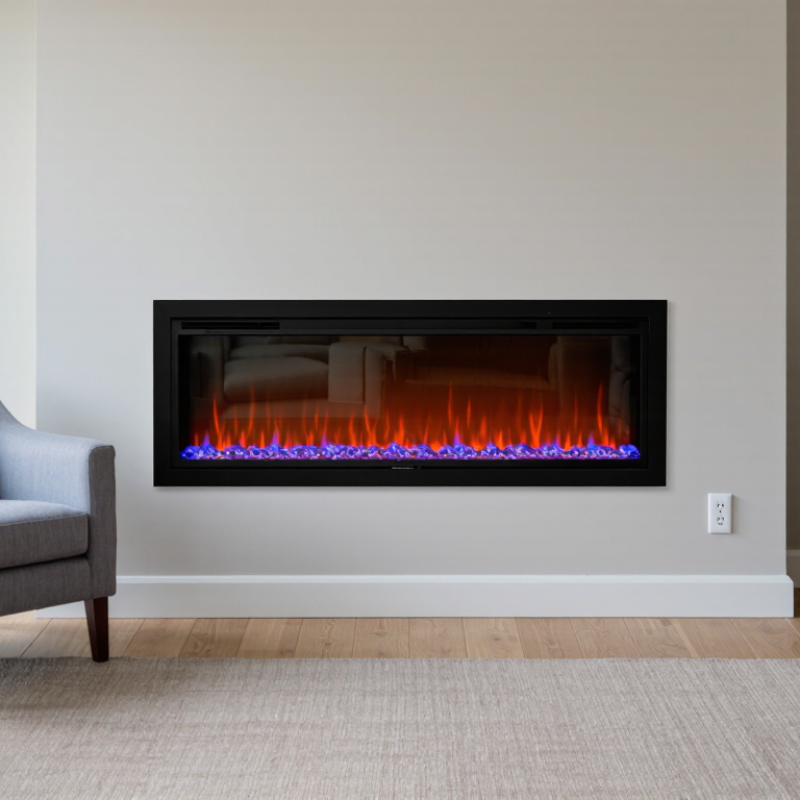
Define Your Room’s Layout and Fireplace Installation Needs
Define your room’s layout before comparing recessed electric fireplaces. Measure the wall, floor space, viewing angles, and nearby furniture carefully. Mark the proposed opening with painter’s tape. This reveals awkward proportions quickly.
A narrow wall may suit a compact unit, while a wide media wall needs stronger visual balance. Check the wall cavity for studs, pipes, ducts, and insulation before planning installation. Recessed models require enough depth and airflow around the housing. Never assume a clear cavity. Confirm required clearances in the installation manual, even when the unit produces no combustion gases. Heat can still affect nearby finishes, electronics, and cabinetry.
Plan the electrical route at the same time. A dedicated circuit may be necessary, depending on the unit’s power demand and local requirements. Have a qualified electrician inspect the existing wiring and follow applicable electrical codes. Place controls where furniture will not block access. Test the viewing height from the sofa, not only from a standing position. A fireplace can fit and still feel misplaced.
I once focused too much on the wall opening and overlooked the outlet position. That small mistake created visible cable tension. Rechecking the layout would have prevented it. Leave room for service access, ventilation, and future repairs. A clean installation should remain practical after the decoration is finished.
| Tip | Room Layout Factor | Useful Planning Data | Installation Requirement | Practical Selection Guidance |
|---|---|---|---|---|
| 1 Measure the available wall | Identify the full wall width, ceiling height, nearby doors, windows, and fixed furniture before selecting the fireplace size. | Record wall width, wall height, and the clear area around the proposed opening. Use finished dimensions rather than rough construction dimensions. | Leave sufficient space for framing, electrical access, ventilation requirements, and finishing materials according to the installation manual. | Choose a unit that fits comfortably within the wall instead of filling the entire wall width. A balanced visual margin usually creates a cleaner appearance. |
| 2 Match the fireplace to the room scale | Large living rooms can visually support wider units, while bedrooms, offices, and compact media rooms usually need a smaller installation. | Compare the fireplace width with the wall, seating area, and television or artwork above it. Avoid selecting by screen size alone. | The surrounding wall structure must support the finished enclosure without obstructing doors, cabinets, outlets, or walking paths. | Use the fireplace as a proportional focal point rather than allowing it to dominate a narrow wall or appear undersized on a large feature wall. |
| 3 Confirm the recess depth | Recessed models require a cavity inside the wall or a purpose-built false wall, which affects usable floor space and room circulation. | Check the product’s total installation depth, including the unit body, framing, finish, and electrical connection space. | Do not assume every model fits a standard stud wall. Verify cavity depth, framing clearance, and whether combustible materials are restricted around the opening. | For shallow rooms, consider a slimline model or a shallow feature wall to reduce the impact on furniture placement and passage width. |
| 4 Plan the viewing angle | Determine where people will sit and whether the fireplace will be viewed straight on, from the side, or from several seating zones. | Map the primary seating positions and maintain a clear sightline to the flame display. Furniture layout should be finalized before framing begins. | Side clearance, trim projection, and nearby corners can affect visibility and the finished appearance of the installation. | A front-facing model suits a single focal wall; a corner or multi-sided design may be more appropriate for open-plan spaces with multiple viewing directions. |
| 5 Check the electrical supply | Consider the location of the nearest suitable circuit, the position of the control switch, and whether the wall is already occupied by other equipment. | Many electric fireplaces use a standard household supply, while higher-output heaters may require a dedicated circuit. The exact voltage, amperage, and circuit requirements vary by model and local code. | Have a qualified electrician verify circuit capacity, outlet placement, grounding, cable routing, and local code compliance before installation. | Do not rely on an extension cord inside the wall or behind the finished surround. Plan the permanent connection before closing the cavity. |
| 6 Separate heat from electronics | Media walls often combine a fireplace with a television, soundbar, game console, shelving, and cable management. | Record the television dimensions and the required clearance between the heat outlet and nearby electronics. | Follow the fireplace manual for minimum distances above, below, and beside the unit. Do not block the warm-air outlet or intake grille. | When placing a television above the fireplace, use a mantel, heat-deflecting design, or alternative layout only when permitted by the installation instructions. |
| 7 Choose the heating capacity carefully | Heating needs depend on room size, insulation, ceiling height, window area, climate, and whether the fireplace is supplemental or primary heat. | Estimate the room’s heating requirement using local guidance or a professional assessment rather than relying only on visual size. | Confirm that the selected unit has the correct heater setting, thermostat functions, and electrical capacity for the intended room. | For many installations, the flame effect can operate without heat, allowing year-round ambiance without unnecessarily warming the room. |
| 8 Inspect the wall structure | Existing walls may contain studs, pipes, wiring, insulation, ventilation ducts, or structural elements that limit the recess location. | Use a stud finder and inspect accessible areas before cutting. Confirm whether the wall is load-bearing or part of a rated assembly. | Never cut structural members or relocate building services without appropriate professional approval. Framing must follow the unit’s specifications. | If the existing wall cannot accommodate the cavity, build a non-structural bump-out or choose a surface-mounted alternative where permitted. |
| 9 Coordinate the finish materials | The surrounding finish may include drywall, tile, stone, wood-look panels, metal, or other decorative materials. | Account for the thickness of backer board, adhesive, tile, trim, mantel, and any non-combustible surround. | Use only materials and clearances allowed by the fireplace instructions and local building requirements, especially around heat-producing components. | Select a trim and finish that permit access to controls, removable glass, air filters, and service panels without dismantling the entire wall. |
| 10 Plan maintenance and future access | A recessed fireplace should remain serviceable after the wall, mantel, and decorative surround are complete. | Identify access points for cleaning, remote sensors, air inlets, lighting components, and electrical service. | Keep ventilation openings clear and follow the recommended cleaning schedule. Arrange professional service for electrical or internal repairs. | Before finalizing the design, confirm that the unit can be removed or serviced without damaging expensive tile, stone, cabinetry, or built-in furniture. |
| Planning reminder: Always use the selected fireplace’s current installation manual for exact clearances, circuit requirements, framing dimensions, ventilation rules, and finishing limitations. Local electrical and building regulations may require inspection or licensed installation. | ||||