
Quality Products
At a Fair Price
Wholesale Provider
Of Valves & Fittings
- HOME
- Products
- Ball Valves
- Bull Plugs & Swages
- Butterfly Valves
- Check Valves
- Cushion / Flow Tees & Bleed Rings
- Enhanced Oil Recovery
- Floating Ball Valves
- Foot Valves
- Forged Steel Fittings
- Forged Steel Outlets
- Gaskets-Insulation Kits
- Gate Valves
- Gate, Globe & Check Valves
- Malleable Fittings
- Needle Valves
- Nipples
- Piston Valves
- Plug Valves
- Stainless Steel Flanges, Fittings & Nipples
- Strainers
- Studs
- Trunnion
- Unions
- Weld Fittings & Flanges
- Manufacturers
- Advance
- American Block
- Anvil
- Balon
- Bonney Forge
- Champion
- Clayton Mark
- Crane
- Daniel
- DMIC
- GMI
- Galli & Cassina
- Hackney-Ladish
- JMC
- Lone Star
- MATCO
- Marpac-McCanna
- National Flange
- National Gasket
- Nordstrom
- Nutron
- PPI
- SHARPE
- SMI
- TEXSTEAM
- TEX-THREAD
- Titan
- USA Fastner
- Vogt
- Weld Bend
- Westbrook
- Wheatley
- Williams
- WKM
- Wolar
- Locations
- Contact
- Blog
- Careers
- Get a Quote
- HOME
- Products
- Ball Valves
- Bull Plugs & Swages
- Butterfly Valves
- Check Valves
- Cushion / Flow Tees & Bleed Rings
- Enhanced Oil Recovery
- Floating Ball Valves
- Foot Valves
- Forged Steel Fittings
- Forged Steel Outlets
- Gaskets-Insulation Kits
- Gate Valves
- Gate, Globe & Check Valves
- Malleable Fittings
- Needle Valves
- Nipples
- Piston Valves
- Plug Valves
- Stainless Steel Flanges, Fittings & Nipples
- Strainers
- Studs
- Trunnion
- Unions
- Weld Fittings & Flanges
- Manufacturers
- Advance
- American Block
- Anvil
- Balon
- Bonney Forge
- Champion
- Clayton Mark
- Crane
- Daniel
- DMIC
- GMI
- Galli & Cassina
- Hackney-Ladish
- JMC
- Lone Star
- MATCO
- Marpac-McCanna
- National Flange
- National Gasket
- Nordstrom
- Nutron
- PPI
- SHARPE
- SMI
- TEXSTEAM
- TEX-THREAD
- Titan
- USA Fastner
- Vogt
- Weld Bend
- Westbrook
- Wheatley
- Williams
- WKM
- Wolar
- Locations
- Contact
- About
- Careers
- Get a Quote
How to Choose an Infrared Thermometer in 2026?
Choosing an Infrared Thermometer in 2026 requires more than comparing temperature ranges and screen sizes. A reliable device should match the material, distance, surface condition, and working environment. Metal pipes, painted walls, food containers, and human skin reflect infrared energy differently. That difference can change the reading.
John Snell, a respected infrared thermography educator, has said, “The quality of an infrared measurement depends on understanding what the camera sees.” His point applies to handheld thermometers too. A high-resolution display cannot correct poor technique, shiny surfaces, steam, dust, or an incorrect emissivity setting. Accuracy starts with the user.
Look for documented accuracy, repeatability, response time, and a suitable spectral range. A wide measurement range sounds impressive, but it may not matter for electrical panels or HVAC checks. Check the distance-to-spot ratio before buying. A thermometer rated 12:1 may measure a 10-centimeter target from 1.2 meters, but only under suitable conditions. Small targets need closer readings or a tighter optical ratio.
Calibration matters.
Choose models supported by traceable testing and clear technical documentation. For professional work, consider alarm limits, data logging, Bluetooth connectivity, and protective housing. For household tasks, these features may add cost without improving decisions. Even experts can misread a surface when reflections resemble heat.
This guide examines practical selection criteria, common marketing claims, and mistakes that appear during real measurements. It does not promise perfect readings. Instead, it shows how to choose an Infrared Thermometer that performs consistently within its stated limits.
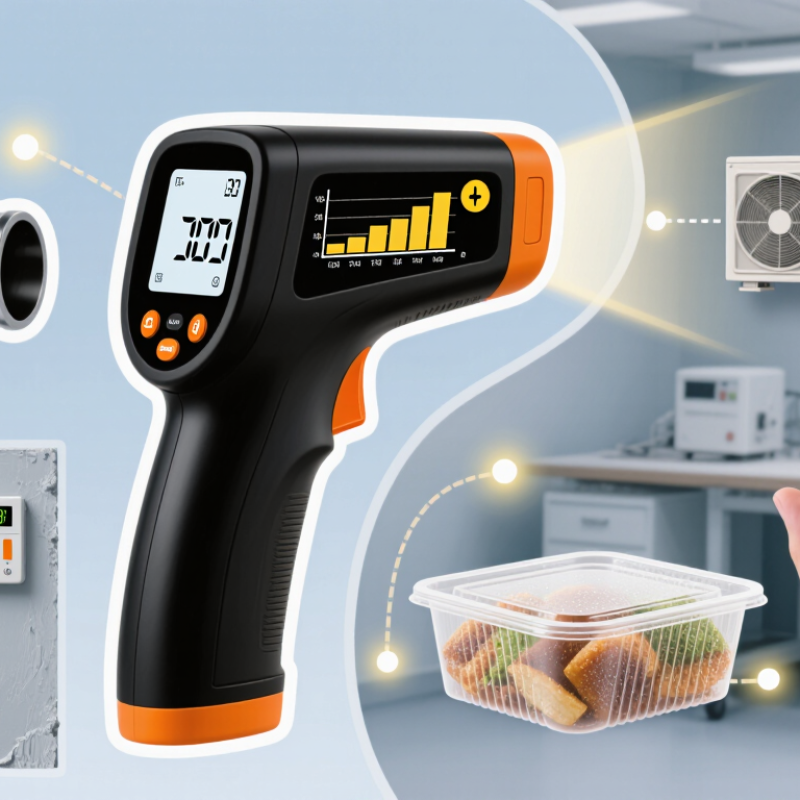
What an Infrared Thermometer Measures and How It Works
How to Choose an Infrared Thermometer in 2026?
An infrared thermometer measures surface temperature without touching the object. It senses infrared energy emitted from the surface, then converts that energy into a temperature reading. The device does not measure the temperature inside food, machinery, or the human body. It measures only what its sensor can “see.”
Surface condition matters. Shiny metal, glass, steam, dust, and wet areas can distort readings because they reflect energy or block the sensor. Emissivity settings help correct some materials, but they are not magic. A thermometer’s distance-to-spot ratio also matters. At a greater distance, the measured area becomes larger. A small display may hide this limitation. I have found that a rushed reading can look precise while measuring the wrong surface.
Tips: Keep the lens clean and allow the device to adjust to room temperature. Aim at a flat, dry area and hold the recommended distance. For cooking, check the thickest part with a contact probe when internal temperature matters. For equipment checks, measure the same location repeatedly. Compare readings with a trusted reference during routine verification. Avoid measuring through glass. Readings can change quickly. Even careful users can miss airflow, sunlight, or nearby hot surfaces. That is why recording conditions beside each measurement is useful.
Which Infrared Thermometer Type Fits Your Measurement Needs
How to Choose an Infrared Thermometer in 2026?
Choosing the right infrared thermometer starts with the surface, distance, and measurement speed. A basic spot thermometer suits quick checks on pipes, cooking surfaces, electrical panels, and HVAC vents. It reads one small area without touching it. For distant targets, choose a model with a higher distance-to-spot ratio. Otherwise, the reading may include the surrounding wall.
Thermal imaging thermometers fit maintenance work better. They show heat patterns across motors, circuit boards, insulation, and building surfaces. A fixed infrared sensor works well for continuous monitoring in workshops or production lines. For shiny metal, infrared readings can drift because reflected heat affects the sensor. I have seen this happen even in clean, controlled spaces. No device is perfect. Contact probes may still deserve a place in your toolkit.
Tips: Check emissivity settings before measuring. Matte surfaces usually read more reliably than polished ones. Keep the lens clean, and let the thermometer adjust to room temperature. Measure from a steady distance. Compare unusual readings with a contact thermometer when safety matters. I sometimes repeat a reading three times, because one result can look convincing but still be wrong.
Key Specifications to Compare Before Buying
Choosing an infrared thermometer starts with its specifications, not its advertised range. Check accuracy across the temperatures you actually measure. A device rated at ±0.2°C near room temperature may perform differently on a hot pipe.
NIST Technical Note 1297 explains that measurement uncertainty combines several factors, including calibration, environment, and repeatability. Ask for uncertainty data, not accuracy alone.
Small detail, big difference.
Distance-to-spot ratio is equally important. A 12:1 ratio measures a 1-inch area from 12 inches away. At 24 inches, the target may cover 2 inches. That can mix a hot bearing with cooler metal.
Emissivity settings also matter. ASTM E1933 identifies emissivity as a critical variable in infrared measurements, especially on reflective surfaces. Bare polished steel can mislead the sensor; matte tape creates a more stable reference area.
I would also compare response time, spectral range, display resolution, data logging, and temperature alarms. Resolution is not accuracy. A screen showing 0.1°C can still hide substantial uncertainty.
In field checks, dirty lenses, cold batteries, and airflow are easy to overlook. I have seen specifications look excellent until the thermometer faced sunlight or a vibrating surface.
Choose a model with calibration documentation, an adjustable emissivity range, and stated operating limits. The better question is not “How high can it read?” It is “How reliably can it measure this surface, at this distance, today?”
How to Check Accuracy, Safety, and Environmental Performance
How to Choose an Infrared Thermometer in 2026?
Accuracy begins with the surface, not the display. Infrared thermometers measure emitted radiation, so shiny metal can produce misleading readings. Check the emissivity setting before measuring pipes, cookware, or polished equipment. A matte tape patch can provide a more stable reference on reflective surfaces. Measure twice.
Compare the thermometer with a calibrated contact thermometer at a controlled temperature. Use the same target area and allow both instruments to stabilize. Check the stated accuracy across the temperature range you actually need. Distance also matters; a narrow measurement area improves reliability from farther away. I would not trust one impressive reading without repeat tests.
Safety includes more than a warning label. Select a model with clear laser classification, secure battery access, and an automatic shutoff. Never aim the laser toward eyes, vehicles, or aircraft. For environmental performance, examine battery type, expected service life, repair options, and disposal guidance. A rechargeable battery may reduce waste, but only when it remains replaceable. Packaging claims can sound impressive. They still need evidence. A practical test in a cold workshop or humid kitchen may reveal weaknesses that specifications overlook. My own selection process is not perfect, especially when measuring moving or uneven surfaces, so I record conditions beside every reading.
How to Use, Maintain, and Verify an Infrared Thermometer
When choosing an infrared thermometer in 2026, consider how easily you can use, maintain, and verify it. A clear display helps in dim workshops. Adjustable emissivity matters because shiny metal can produce misleading readings. I still occasionally forget to check the surface.
Hold the thermometer perpendicular to the target, not at a sharp angle. Keep the recommended distance. The measured area must fully cover the sensor’s field of view. Steam, dust, sunlight, and cold drafts can distort results. Let the instrument and target reach similar room conditions before testing. For food or medical checks, confirm the correct measurement location and follow the relevant professional guidance. Do not rely on one reading. Take two or three, then investigate unusual differences.
Tips: Clean the lens gently with a soft, dry cloth. Never scrape it. Replace weak batteries promptly, and inspect the casing for cracks. Store the thermometer away from heat and moisture. For verification, compare it with a calibrated reference source at a stable temperature. An ice-water check may be useful near 0°C, but melting ice, water purity, and poor mixing can affect results. Boiling-water checks also depend on altitude. Record the date, conditions, reference value, and observed reading. If the error exceeds the stated tolerance, remove the instrument from critical work and arrange professional calibration. My own logs have revealed small, repeatable errors that casual testing missed.
